- Crochet With YOU
- Patterns
- Crochet Giftcard Holder Tutorial
Crochet Giftcard Holder Tutorial

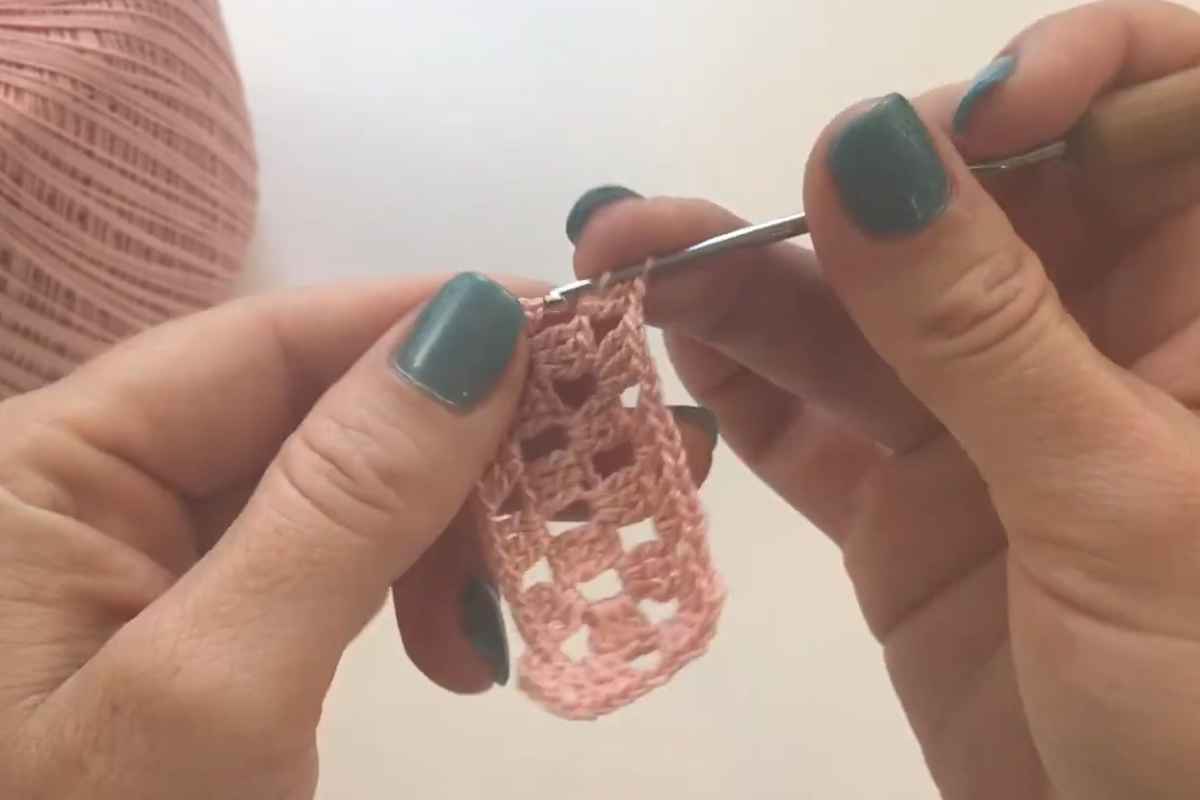
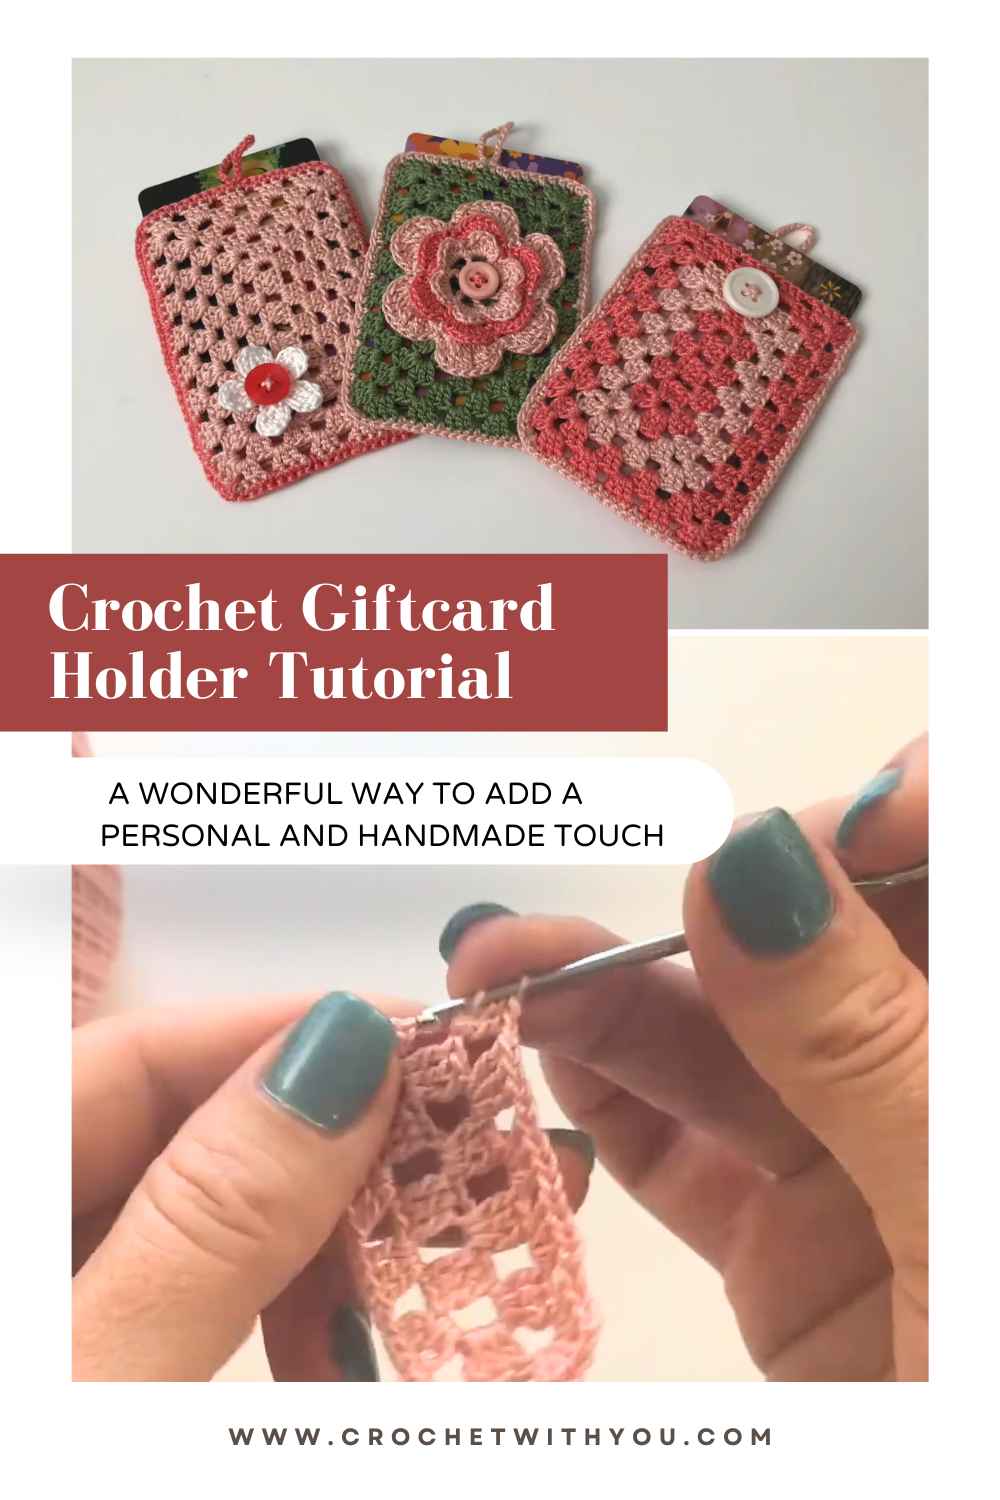
Crocheting a gift card holder is a delightful and practical way to add a personal touch to your presents.
How to Crochet a Giftcard Holder
This easy-to-follow tutorial will guide you through the steps to create a beautiful and functional crochet gift card holder. Perfect for beginners and experienced crocheters alike, this project is quick, fun, and makes a thoughtful gift.
Materials Needed
- Yarn: Choose a medium-weight yarn in your favorite color. Cotton yarn is recommended for its durability.
- Crochet Hook: Use a size G (4mm) crochet hook.
- Scissors: For cutting the yarn.
- Yarn Needle: For weaving in ends.
- Button: Optional, for securing the holder.
Basic Stitches Used
- Chain (ch): The foundation of most crochet projects.
- Single Crochet (sc): A simple and sturdy stitch perfect for this project.
- Slip Stitch (sl st): Used to join rounds and create a seamless finish.
- Double Crochet (dc): Adds texture and height.
Step-by-Step Instructions
Step 1: Creating the Base
- Foundation Chain: Begin by chaining 15 stitches. This will be the width of your gift card holder.
- Row 1: Single crochet (sc) in the second chain from the hook and in each chain across. You should have 14 sc at the end of this row. Turn your work.
- Row 2: Chain 1, single crochet in each stitch across. Turn your work.
Step 2: Building the Body
- Rows 3-20: Repeat Row 2 until you have completed 20 rows. This will create the main body of the gift card holder. Feel free to adjust the number of rows based on the size of your gift card.
Step 3: Creating the Flap
- Row 21: Chain 2 (counts as the first double crochet), double crochet (dc) in each stitch across. Turn your work.
- Rows 22-25: Chain 2, double crochet in each stitch across. Turn your work.

Step 4: Adding the Buttonhole (Optional)
- Row 26: Chain 1, single crochet in the first 5 stitches, chain 4 (this will be the buttonhole), skip 4 stitches, single crochet in the last 5 stitches. Turn your work.
- Row 27: Chain 1, single crochet in the first 5 stitches, 4 single crochets in the chain-4 space, single crochet in the last 5 stitches. Fasten off and weave in ends.
Step 5: Assembling the Holder
- Folding: Fold the bottom part of the piece (the main body) up to the base of the flap.
- Seaming: Using a yarn needle, sew the sides together with a whip stitch or slip stitch, making sure to sew through both layers. This will form the pocket for the gift card.
Step 6: Adding the Button
- Positioning: Sew a button onto the center of the main body where the buttonhole flap will secure it. Ensure it aligns with the buttonhole.
- Securing: Use a yarn needle and a small piece of yarn to sew the button in place securely.
Tips for Success
- Consistent Tension: Maintain an even tension to ensure uniform stitches and a neat appearance.
- Counting Stitches: Regularly count your stitches to avoid mistakes and keep your edges straight.
- Practice: If you’re new to crochet, practice the basic stitches on a small swatch before starting your project.
Customization Ideas
- Color Variations: Use different colors of yarn to create stripes or patterns.
- Different Sizes: Adjust the starting chain and the number of rows to create larger or smaller holders, depending on the size of your gift card.
- Embellishments: Add appliqués, embroidery, or beads for a unique touch.
Benefits of Crocheting Your Own Gift Card Holder
- Personalized Touch: Customize the colors and design to suit the recipient’s taste.
- Eco-Friendly: Handmade holders can be reused or repurposed, reducing waste.
- Quick Project: This project can be completed in a short amount of time, making it perfect for last-minute gifts.
- Thoughtful Gift: A crocheted gift card holder shows that you put time and effort into making a special present.
Creating a crochet gift card holder is a wonderful way to add a personal and handmade touch to your gifts. This tutorial provides clear steps and tips to help you create a beautiful and functional holder.
Whether you’re making it for a special occasion or just because, this project is sure to impress.
Images and pattern courtesy of Anita Louise Crochet
We hope you enjoy watching this video about Giftcard Holder
Source: Anita Louise Crochet
Did you find this post useful or inspiring? Save THIS PIN to your Crochet Board on Pinterest! 😊


More crochet projects for you