
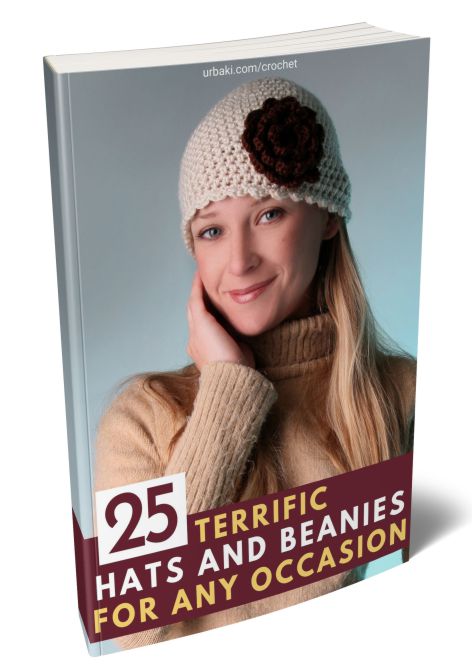
How to Crochet a Puff Stitch Beanie Hat

If you're looking for a fast and easy DIY project that results in a beautiful and practical gift, look no further than the puff stitch beanie hat.
A Quick and Easy DIY Gift
This beginner-friendly crochet project doesn't require you to know how to puff stitch beforehand, making it accessible for all skill levels.
In this article, we'll explore the joys of crocheting a puff stitch beanie, along with some helpful tips and advice to ensure stunning results.
Why Choose a Puff Stitch Beanie Hat?
The puff stitch beanie hat is a versatile and stylish accessory that can be worn by people of all ages. The puff stitch adds a lovely texture and dimension to the hat, making it stand out from more traditional crochet patterns. Additionally, this hat can be customized with different colors and yarn types, allowing you to create a unique piece for yourself or as a thoughtful handmade gift.
Benefits of Crocheting a Puff Stitch Beanie
- Beginner-Friendly: You don’t need to know how to puff stitch before starting this project. The puff stitch is easy to learn and adds a professional look to your beanie.
- Quick to Make: This project works up quickly, making it perfect for last-minute gifts or for when you want to see fast results.
- Customizable: Use different yarns, colors, and even add embellishments like pom-poms or buttons to make your beanie truly unique.
- Versatile Gift: A handmade beanie is a thoughtful and practical gift that can be appreciated by anyone.
Choosing the Right Materials
Selecting the right materials is crucial for the success of your puff stitch beanie. Here are some tips on what to look for:
Yarn
Choose a soft, medium-weight yarn for your beanie. This type of yarn is easy to work with and provides enough warmth without being too bulky. Acrylic or wool blends are great choices as they offer durability and comfort.
Hook
A size H (5mm) crochet hook is commonly used for beanies. Ensure that the hook size matches your yarn to achieve the correct gauge and desired texture.
Extras
Consider adding a pom-pom, buttons, or a decorative stitch marker to personalize your beanie. These small touches can make your handmade gift even more special.
Tips for Crocheting a Puff Stitch Beanie
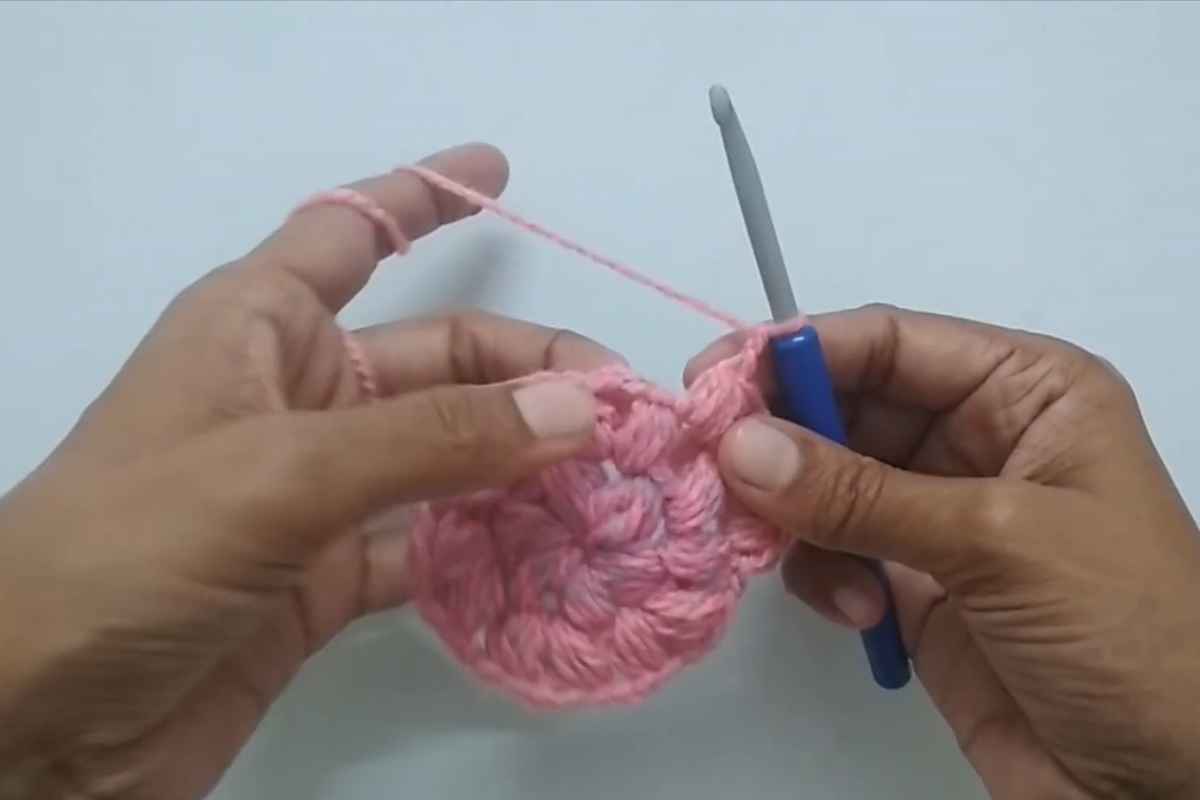
Mastering the Puff Stitch
The puff stitch may seem intimidating at first, but it’s quite simple once you get the hang of it. Practice the stitch on a small swatch before starting your beanie. This will help you become comfortable with the technique and ensure your stitches are consistent.
Consistent Tension
Maintaining consistent tension is key to a uniform and professional-looking beanie. If your stitches are too tight, the hat may be stiff and uncomfortable. If they are too loose, the hat may not hold its shape. Take your time and adjust your tension as needed.
Customizing Size
To ensure a perfect fit, measure the head circumference of the person who will be wearing the beanie. Adjust the number of stitches and rows accordingly to customize the size. Remember to leave some stretch in the hat for a comfortable fit.
Blocking
Blocking your beanie after finishing can help to even out the stitches and give it a polished look. Simply wet the hat, shape it to the desired dimensions, and let it dry flat. This step is optional but recommended for the best results.
Crocheting a puff stitch beanie hat is a rewarding and enjoyable project that results in a beautiful and practical accessory.
Whether you’re making it for yourself or as a gift, the recipient is sure to appreciate the time and effort you put into creating something handmade.
With these tips and a bit of practice, you’ll be able to create a stunning beanie that showcases your crochet skills.
Happy crocheting!
Images and pattern courtesy of Hopeful Turns
We hope you enjoy watching this video about Hat
Source: Hopeful Turns
Did you find this post useful or inspiring? Save THIS PIN to your Crochet Board on Pinterest! 😊

More crochet projects for you