
How to Crochet Easy Dishcloth

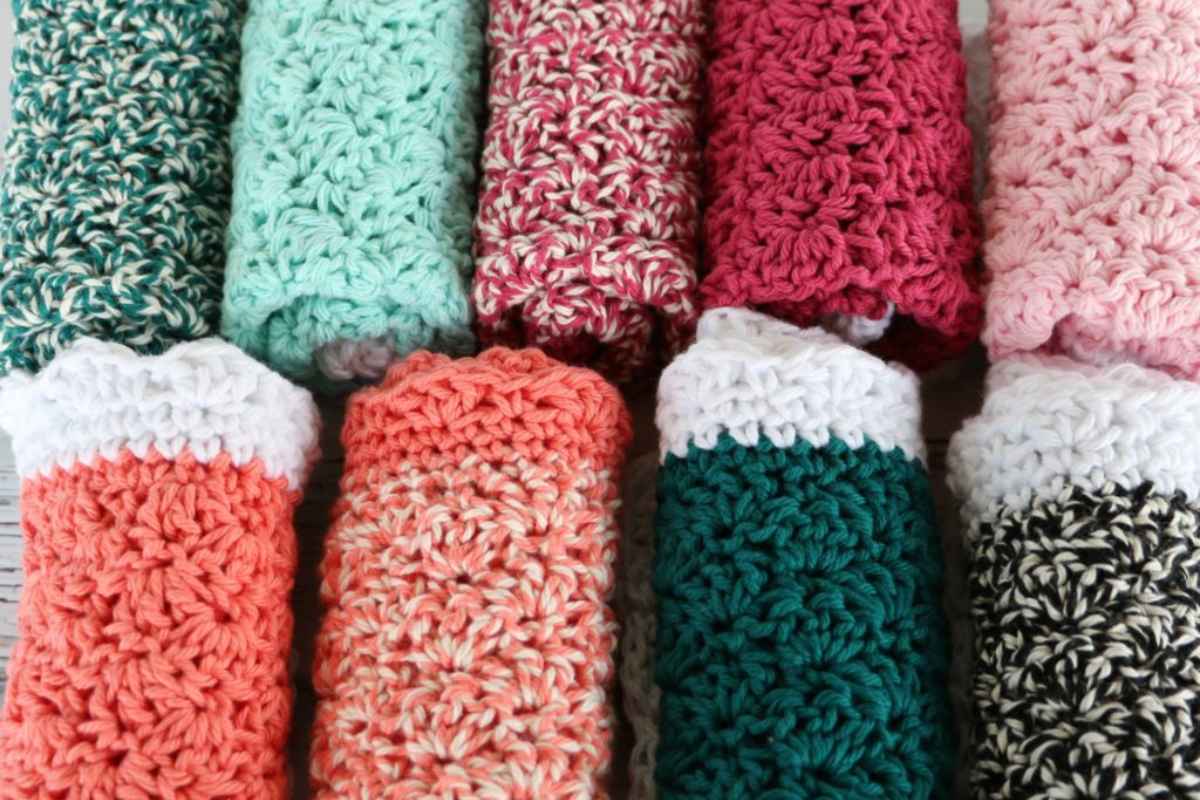
Crocheting your own dishcloths is not only practical but also adds a personal touch to your kitchen.
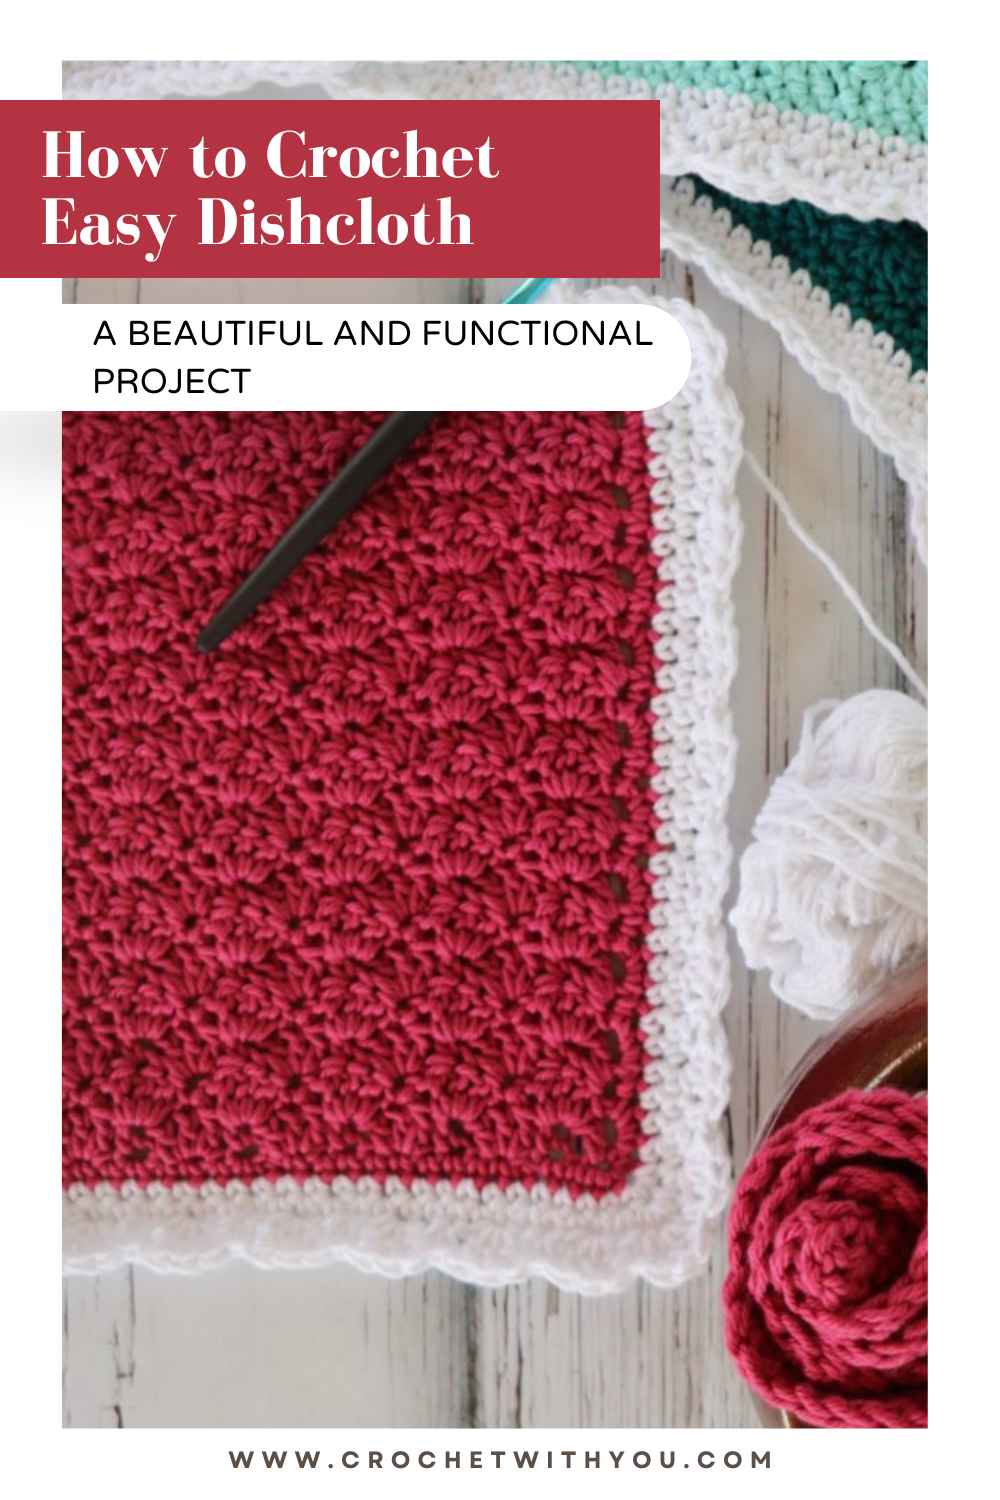
The Rosy Posy Dishcloth
is a beautiful and functional project that’s perfect for both beginners and experienced crocheters. This tutorial will guide you through creating a delightful dishcloth with a charming rosy pattern.
Materials Needed
- Yarn: Cotton yarn is recommended for its absorbency and durability. Choose colors you love for a personalized touch.
- Crochet Hook: Use a size H (5mm) crochet hook.
- Scissors: For cutting the yarn.
- Yarn Needle: For weaving in ends.
Understanding the Stitches
Before starting, familiarize yourself with these basic crochet stitches:
- Chain (ch): The foundation of most crochet projects.
- Single Crochet (sc): A simple and sturdy stitch.
- Double Crochet (dc): Adds texture and height.
- Slip Stitch (sl st): Used to join rounds and create a seamless finish.
Step-by-Step Instructions
1. Starting the Dishcloth
- Foundation Chain: Begin by chaining 31 stitches.
- Row 1: Work 1 sc in the second chain from the hook and in each chain across. You should have 30 sc at the end of this row. Turn your work.
2. Creating the Rosy Posy Pattern
- Row 2: Chain 3 (counts as the first dc), skip the next sc, 1 dc in the next sc, dc in the skipped stitch (working behind the first dc to form an X). Repeat from * to the end of the row. End with 1 dc in the last sc. Turn your work.
- Row 3: Chain 1, work 1 sc in each stitch across. Turn your work.
3. Continuing the Pattern
Repeat Rows 2 and 3 until your dishcloth reaches the desired size. For a standard dishcloth, aim for about 8-10 inches square.
4. Finishing the Edges
- Final Row: After your last sc row, do not turn your work. Instead, continue to single crochet evenly around all four sides of the dishcloth to create a neat border. Place 3 sc in each corner to keep the edges flat.
- Slip Stitch and Fasten Off: Join the last sc to the first sc with a slip stitch. Fasten off and weave in any loose ends with your yarn needle.
Tips for Success
- Consistent Tension: Maintain an even tension to ensure uniform stitches.
- Counting Stitches: Regularly count your stitches to avoid mistakes and keep your edges straight.
- Practice: If you’re new to crochet, practice the basic stitches on a small swatch before starting your dishcloth.
Customization Ideas
- Color Variations: Use different colors for the rows to create stripes or a color-blocked effect.
- Different Sizes: Adjust the starting chain and the number of rows to create larger or smaller dishcloths, depending on your needs.
- Embellishments: Add a small loop at one corner to hang your dishcloth or crochet a small flower to sew onto the corner for decoration.
Benefits of Crocheting Your Own Dishcloths
- Eco-Friendly: Handmade dishcloths are reusable and reduce the need for disposable cleaning products.
- Cost-Effective: Crocheting your own dishcloths is a budget-friendly way to stock your kitchen with high-quality, durable cleaning tools.
- Personalized: Customize the colors, sizes, and patterns to suit your kitchen decor and personal preferences.
- Handmade Gifts: Crocheted dishcloths make thoughtful and practical gifts for friends and family.
The Rosy Posy Dishcloth is a delightful and easy crochet project that adds a touch of handmade charm to your kitchen.
This tutorial provides clear steps and tips to help you create a beautiful and functional dishcloth. Whether you’re making it for yourself or as a gift, this project is sure to bring joy and satisfaction.
Images and pattern courtesy of MJ's Off The Hook Designs
We hope you enjoy watching this video about Dishcloth
Source:MJ's Off The Hook Designs

Did you find this post useful or inspiring? Save THIS PIN to your Crochet Board on Pinterest! 😊
More crochet projects for you